

How To Organize Camera Roll
Taking pictures with your iPhone couldn't be easier. But organizing those pictures — not every bit fun. Fortunately, it may non exist as difficult every bit it seems. Just because your photograph library is massive doesn't mean it will be as big a task to get it organized. Continue reading to learn the simple steps how to organize photos on your iPhone easily.
Step 1. Declutter iPhone photos before you lot organize them
Every photograph library is filled with clutter, so earlier you spend a ton of time wading through that mess, you should get rid of the junk y'all don't want. And the good news is that you lot can use Gemini Photos to scan your pictures and quickly get rid of that clutter. The app looks for things similar duplicates, screenshots, notes, blurry pictures, and even similar-looking photos.
Download Gemini Photos from the App Store, open up it on your iPhone, and follow these steps to clean upwardly your library.
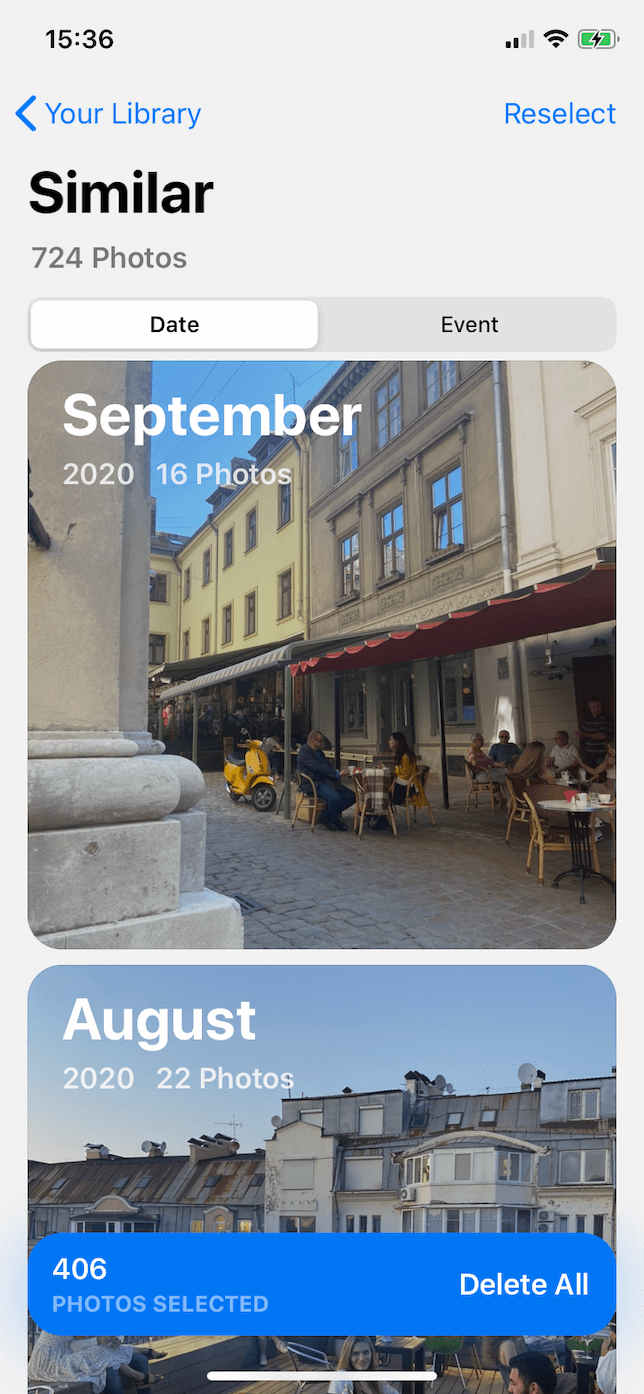
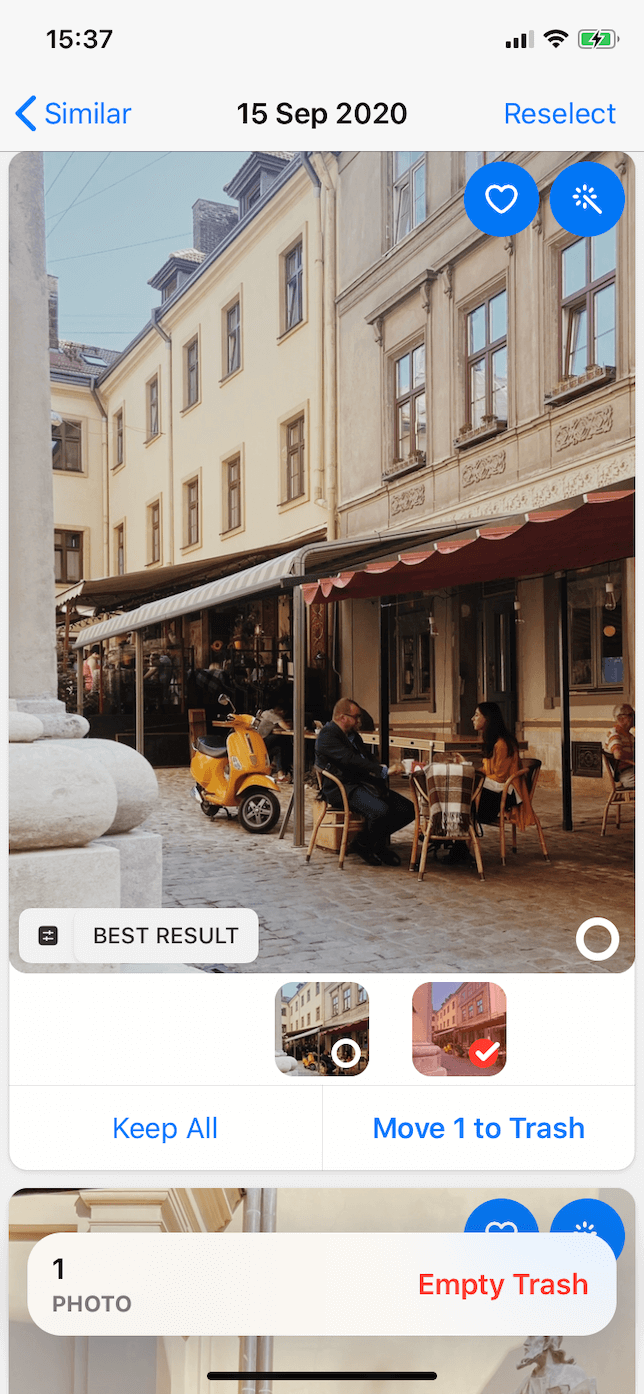
Like-looking pictures
- Tap Similar. Your pictures will be grouped by Appointment or Event.
- Click on a grouping. Gemini will automobile-select the best pictures.
- Review the selection and tap Motion to Trash for each set.
- When you're done, tap Empty Trash and then tap Delete to confirm.
Duplicates
- Tap Duplicates. Gemini Photos will find all the duplicate photos on your iPhone.
- Tap each set of duplicates to review them.
- After you've gone through them all, tap Delete Duplicates at the lesser of the screen.
- Tap Delete to confirm.
Videos
- Tap Videos. Gemini Photos will prove you all of the videos in your library with how much space they're taking up.
- Swipe up on a video to go along it, or swipe down on it to delete it.
- Tap Empty Trash at the lesser.
Screenshots
- Tap Screenshots. Gemini Photos will machine-select all of your screenshot photos.
- Tap to uncheck the ones yous want to keep.
- At the bottom of the screen, tap Delete All and then Delete.
Notes
- Tap Notes. The app volition scan your photos for pictures of whiteboards or notebooks and group them together.
- Tap to bank check the pics yous want to get rid of.
- At the bottom, tap Delete All when you're finished.
Blurred
- Tap Blurred to review all of the pics Gemini Photos found that are blurry.
- Select the pictures yous don't want to proceed.
- Tap Delete All and and then tap Delete to confirm.
Other
- Tap Other to review the pictures that don't fit into the above categories. Your pictures will be grouped by engagement.
- Tap on one of the months.
- Swipe up on a motion-picture show to go on it, or swipe down on it to delete the photo.
- After you've gone through all of these images, tap Empty Trash at the bottom.
When you're finished cleaning out your library, don't forget to open your Photos app and tap Albums > Recently Deleted > Select > Delete All to remove those pictures from your iPhone. Otherwise, they'll remain on your device, taking upwardly infinite for the adjacent 30 days.

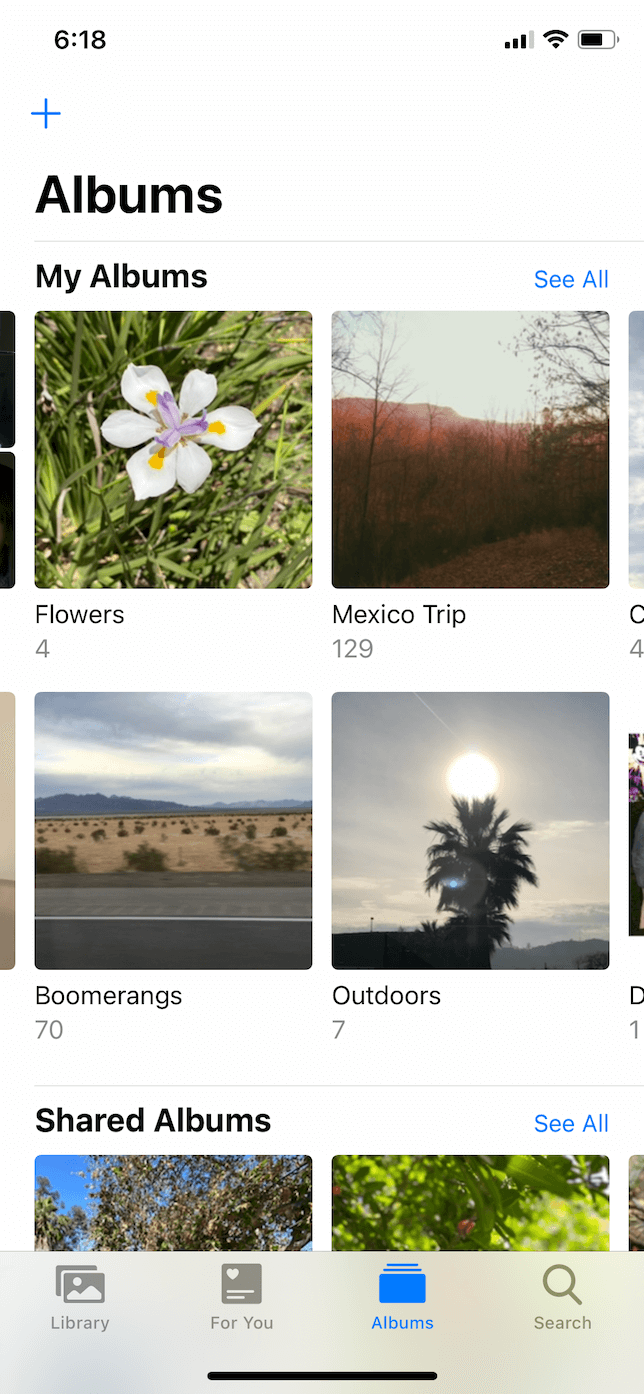
Step ii. Delete iPhone photo albums y'all don't need
When yous go into the Album tab in the Photos app on your iPhone, yous may observe some old albums you don't desire anymore or even some albums created by other apps (like Whatsapp or Snapchat). If you're non using these albums, it'southward best to get rid of them so that they're not cluttering up your phone and making information technology harder to find the albums you want to use.
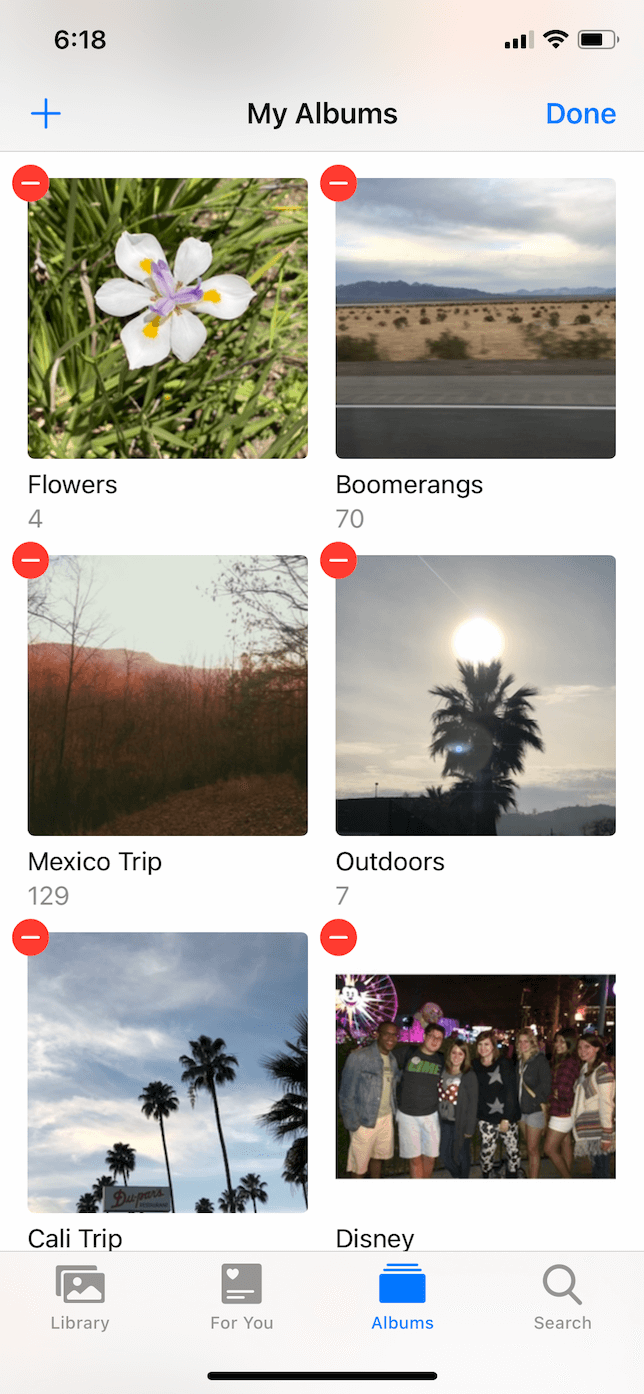
How to delete an anthology on iPhone
Deleting an album is uncomplicated to do directly on your iPhone. Just follow these steps:
- Open the Photos app and tap Albums at the bottom.
- At the top, next to My Albums, tap See All.
- Tap Edit.
- Tap the cherry minus button next to the album(s) you want to delete.
- When you're finished, tap Washed.
How do I delete the Favorites album?
Unfortunately, there is no way to delete your Favorites album. This is one of the stock albums that is automatically created by the Photos app, and like the Recents album, Favorites can't be moved, renamed, or deleted.
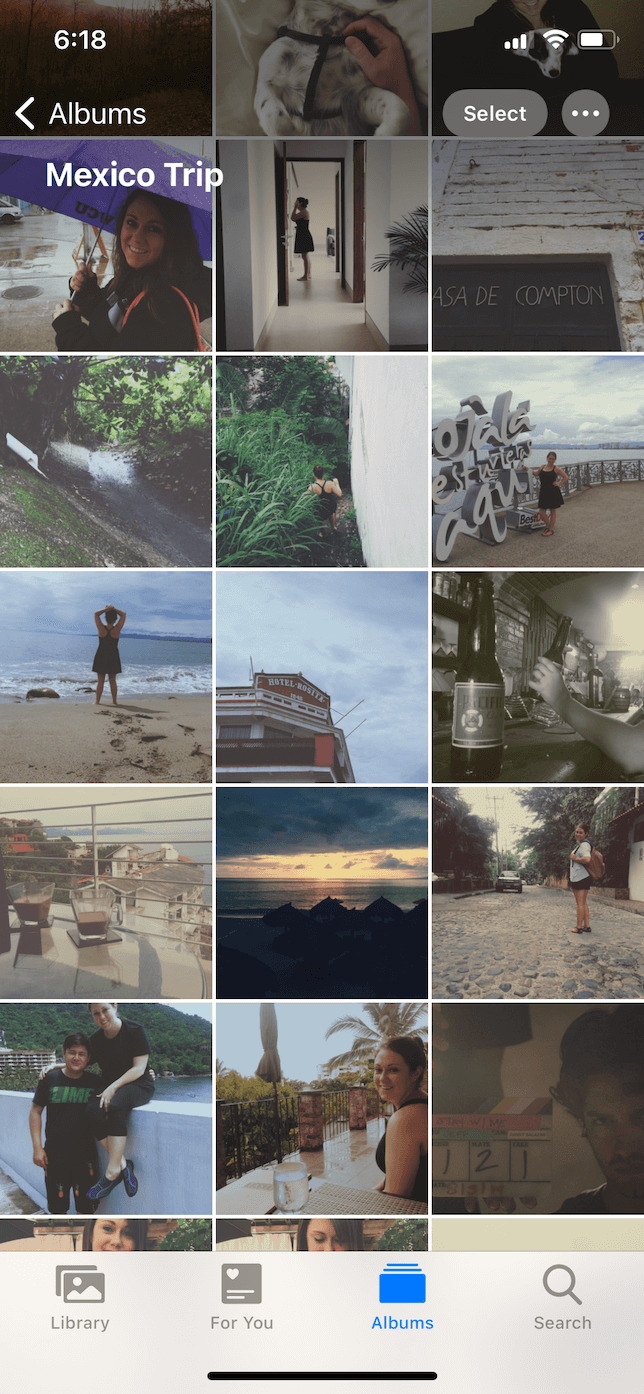
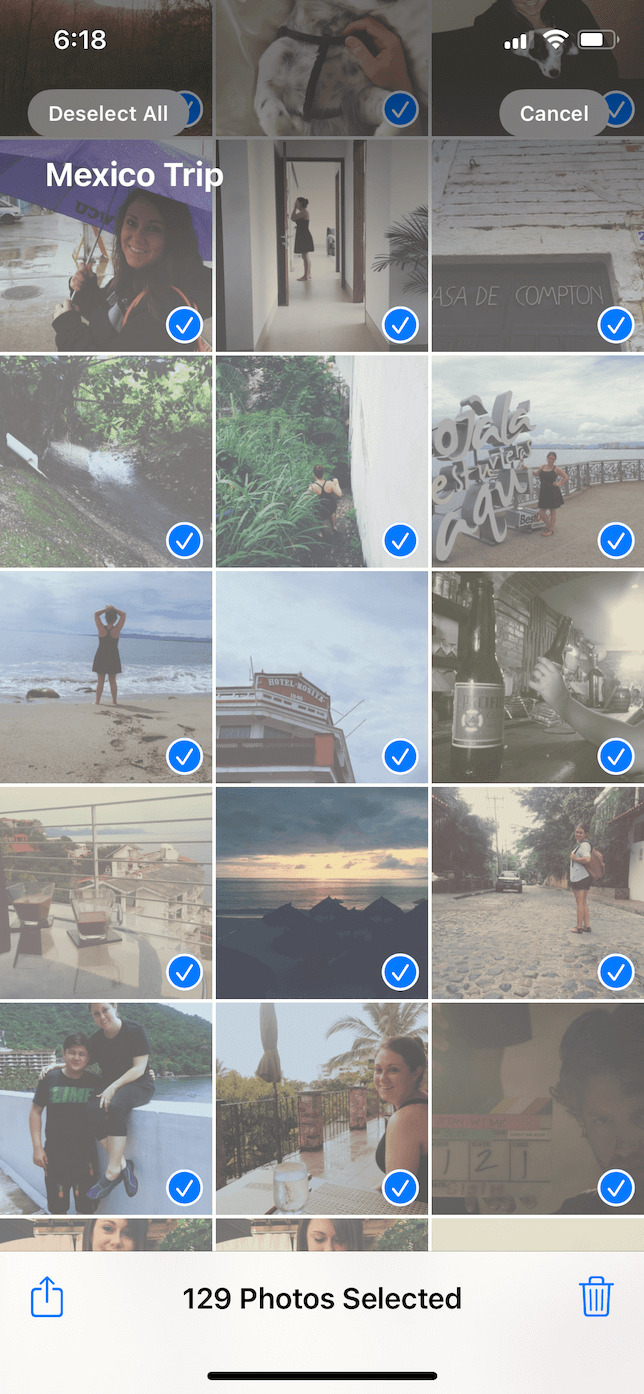
Does deleting a photograph album delete the photos in it?
The quick answer is no. Deleting an anthology only deletes the album, not the pictures inside of it. If yous want to delete the pictures as well, you can follow these steps:
- In Photos, open up the album.
- Tap Select > Select All.
- Tap the trash tin can icon in the bottom-correct corner.
Now, yous can delete the album following the steps mentioned in the section above.
If you have sensitive or individual photos you want to keep but don't necessarily want them in your Camera Curl, 1 option is to hide the pictures. Y'all can also create a subconscious album where all of your hidden photos will alive.
How to create a Hidden anthology on iPhone
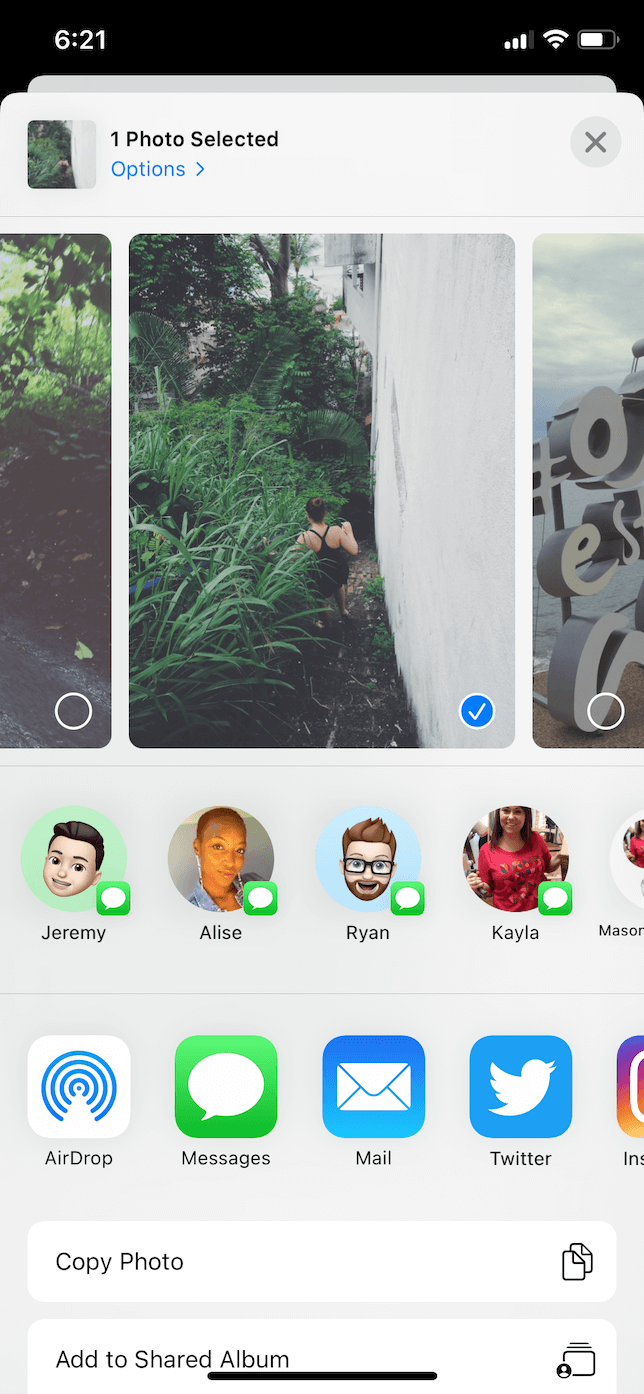
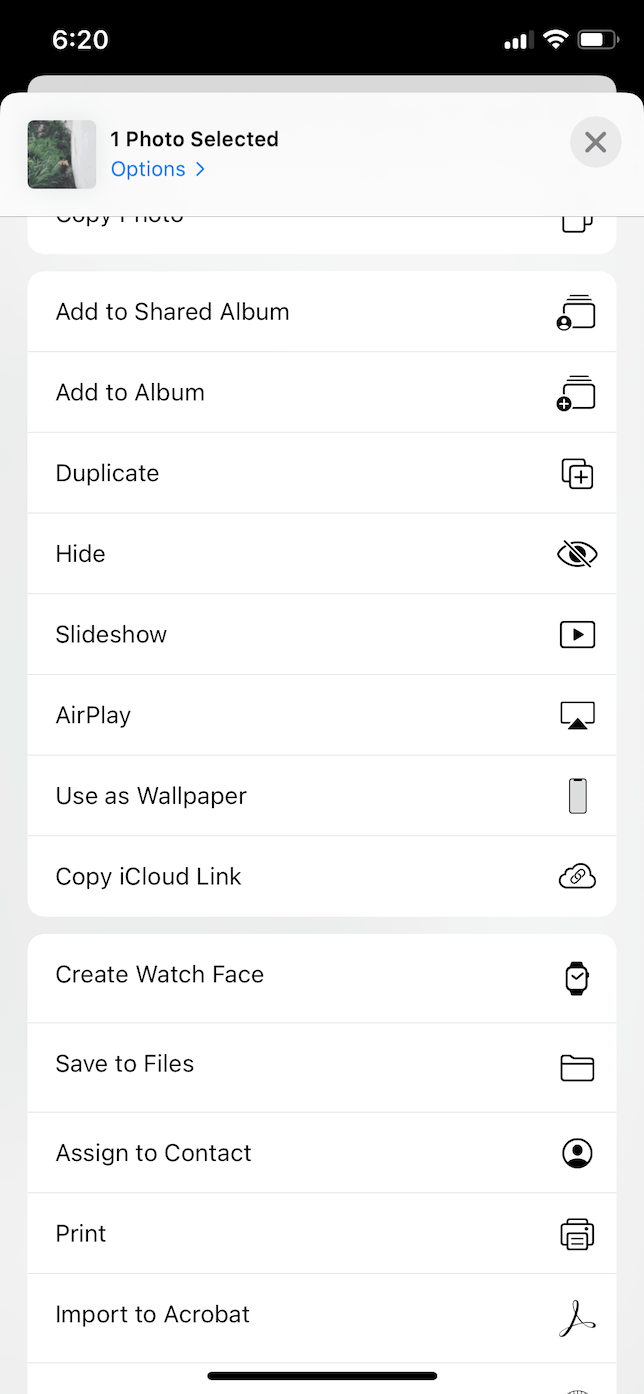
Your Hidden album will merely announced if you lot have opted to hide a picture. This is how you'd hide a photo:
- In the Photos app, detect the image you want to hibernate and tap it.
- Tap the Share icon in the bottom right.
- Scroll down and tap Hide.
How to add new photos to the Hidden album
After you hibernate one photo, a Subconscious album will be created, and you can add more pictures to information technology. Just follow these steps to add new images to your album.
- Tap the Library tab at the bottom of the Photos app.
- Tap Select and tap each moving picture y'all desire to add.
- Hit the Share icon in the bottom right corner and then tap Hide.
Where to detect the Hidden album
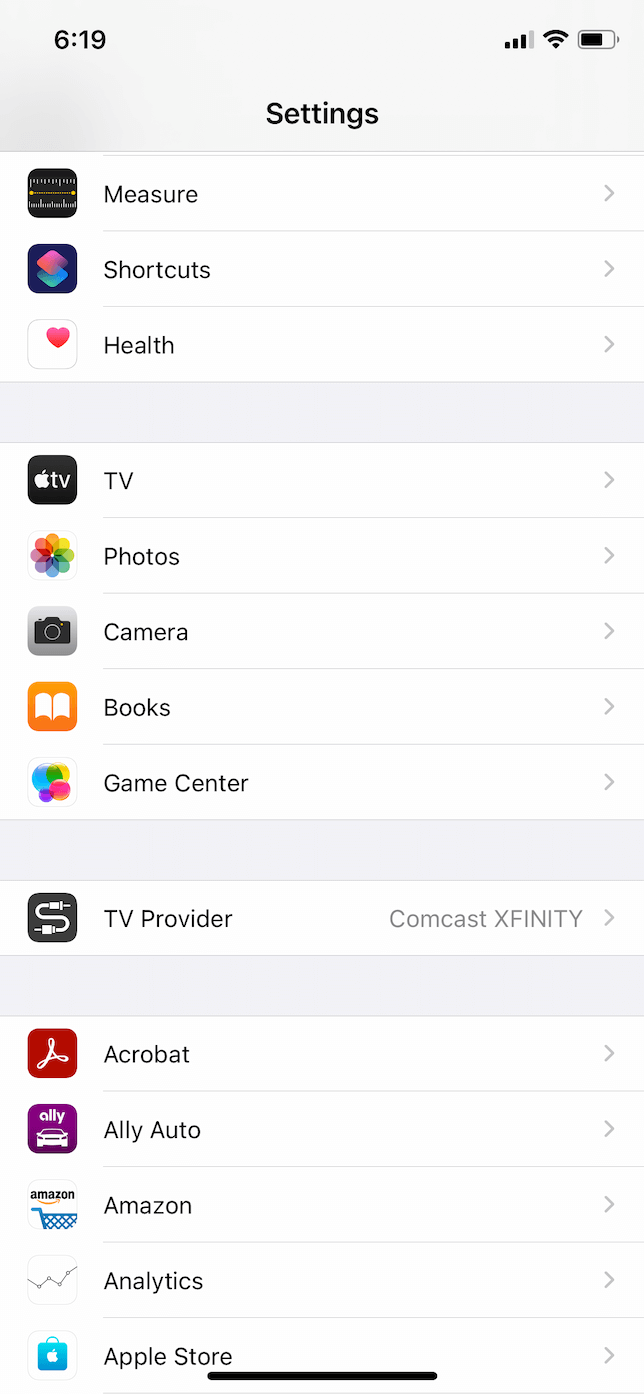
With iOS 14, Apple has made the Hidden album a picayune more — hidden. Before you can observe the Hidden anthology under the Albums tab, you accept to enable it starting time.
- Open the Settings app.
- Tap Photos.
- Toggle to Enable Hidden.
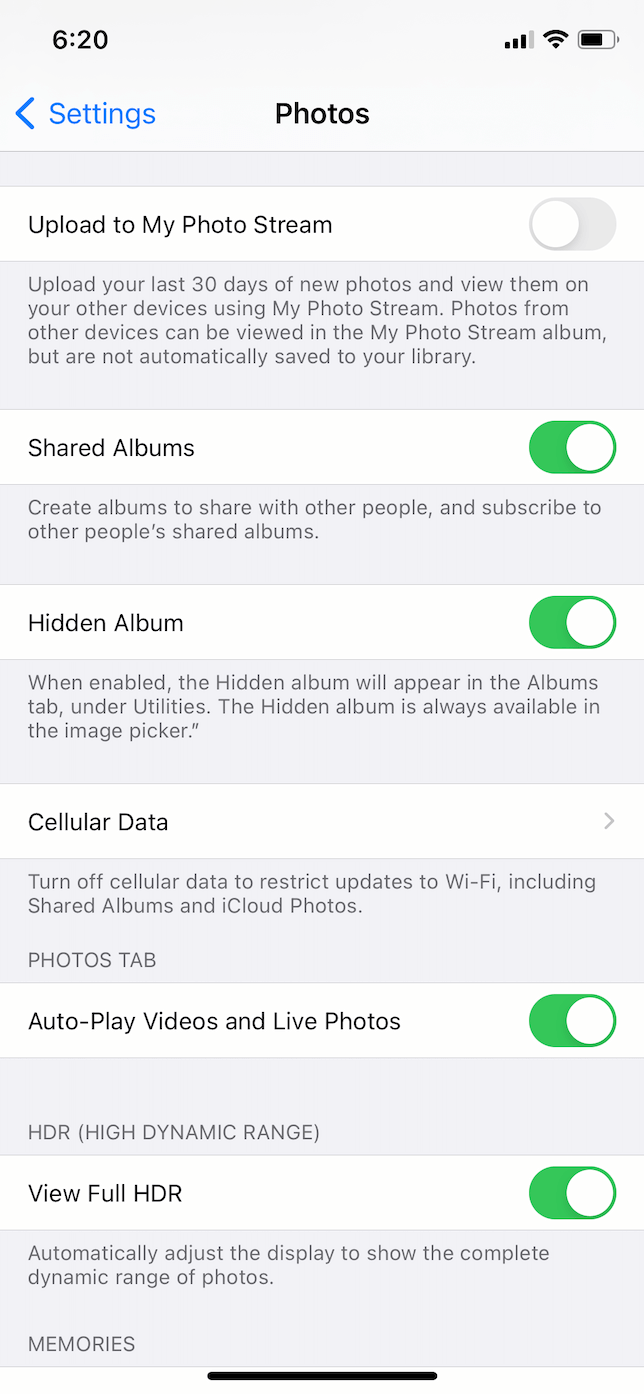
Now, yous tin go back to the Photos app and tap Albums > Hidden to view all of your sensitive pictures.
Stride four. Organize your photos into relevant albums
If you have thousands of photos in your library, scrolling through your Photographic camera Roll might not be the virtually efficient way to find your pictures. Organizing them into albums helps you notice the photos you're looking for a lot more than rapidly.
How to add photos to the Favorites anthology
Here's how you add a photo your Favorites album:
- Observe the moving-picture show yous want to add in the Photos app.
- At the lesser of the screen, tap the heart icon so that it's filled in.
And that'southward all there is to mark a pic as one of your favorites.
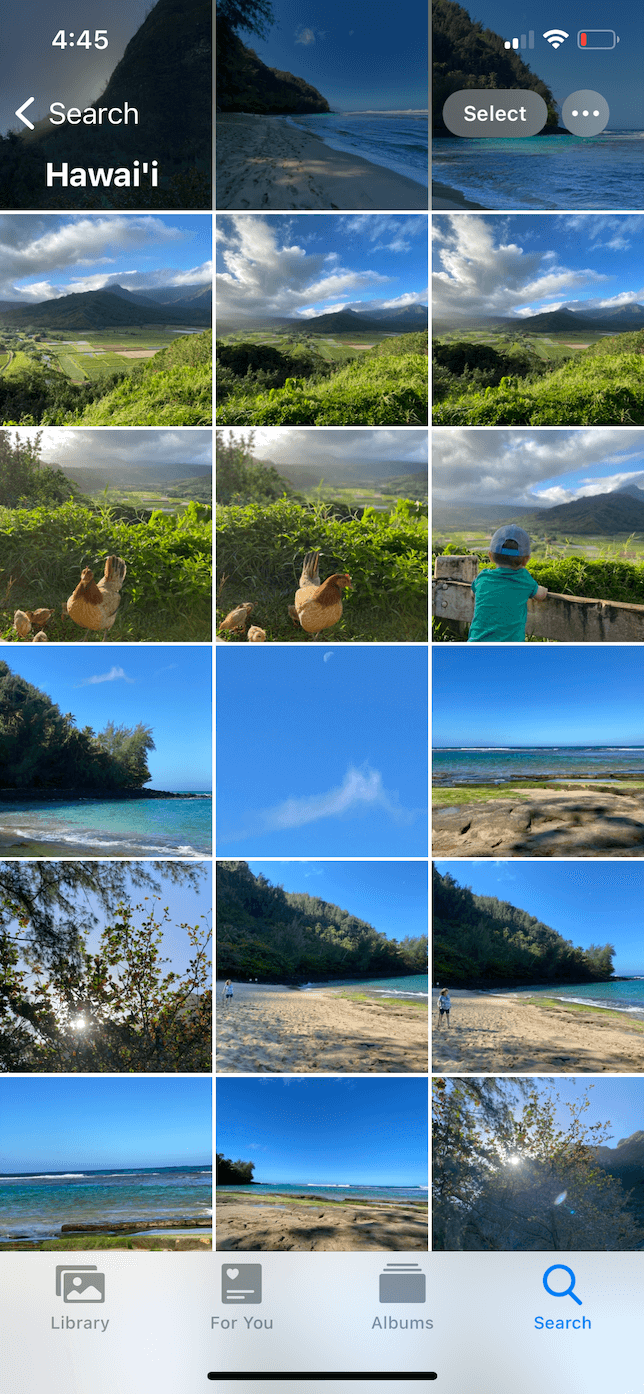
How to create photo albums categorized by location
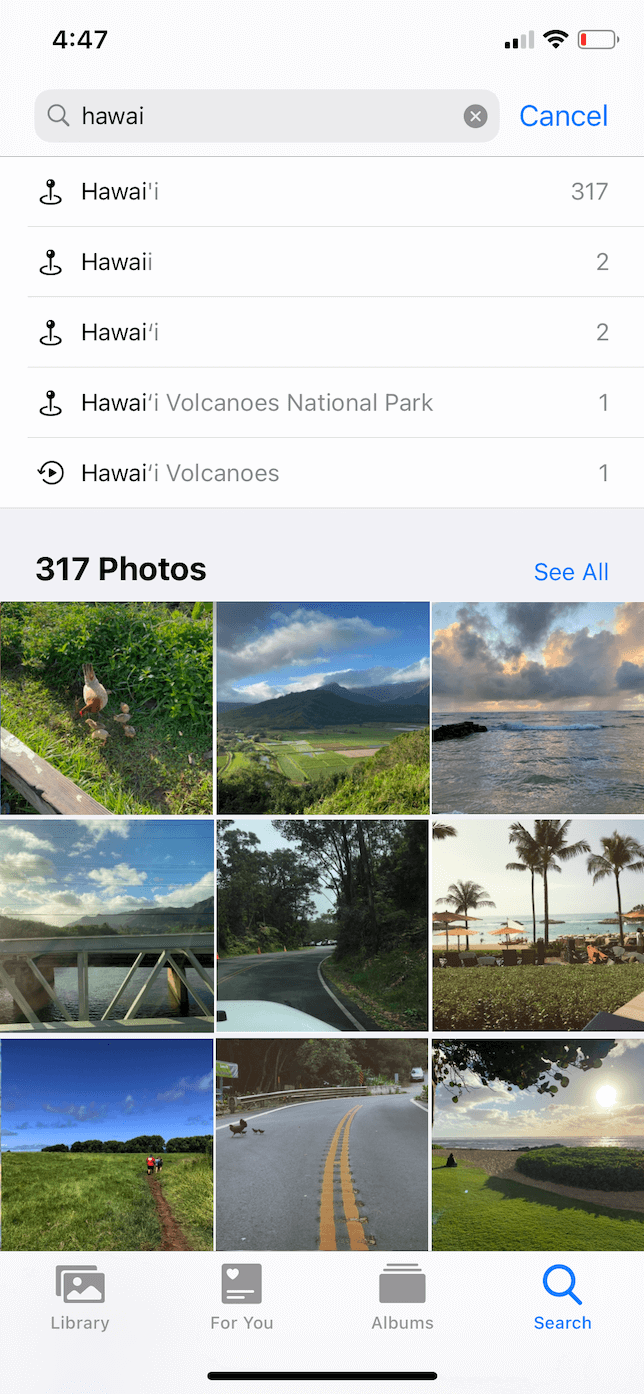
The Photos app also makes it really easy to create an anthology based on the geographic location where the photo was taken. Follow these steps:
- Tap the Search tab at the bottom of the Photos app.
- In the Search bar, blazon a location.
- Tap See All > Select.
- Tap to select all the pictures yous want to add to an album.
- Tap the Share icon > Add to Album > New Album.
- Name your album and hit Save.
If you desire to add together more than pictures to an album based on their location, yous tin repeat steps 1 through v, simply instead of tapping New Album, tap on the existing album.
How to create iPhone photo albums categorized by theme
The search feature in Photos also works for themes, then you can organize all your embankment trips or all the pictures you've taken of cool archetype cars. Hither's how to create an album based on the theme of your pictures:
- At the bottom of the Photos app, tap Search.
- In the Search bar, blazon a theme like "beach."
- Tap Meet All > Select.
- Select all the pictures yous want to put in an album.
- In the bottom, tap the Share icon > Add to Album > New Album.
- Give the album a proper noun and and then hitting Save.
How to create photo albums categorized past people
One of the Photos app's more impressive features is facial recognition. It scans your pictures and tries to place all of the people in your photos. So, if you wanted to create an album based on a specific person, hither's how you'd exercise that:
- Tap the Albums tab at the bottom of the Photos app.
- Whorl down to the People & Places section and tap People. So select a person.
- Tap Select and so choose all the pictures yous want to add together to your album.
- Tap the Share icon > Add to Album > New Album…
- Proper noun your Album and tap Save.
If you only want to tag a person that Photos has detected in your pictures, just exercise the following:
- In Photos, tap Albums
- Scroll to People & Places and tap People.
- Select the person you desire to tag.
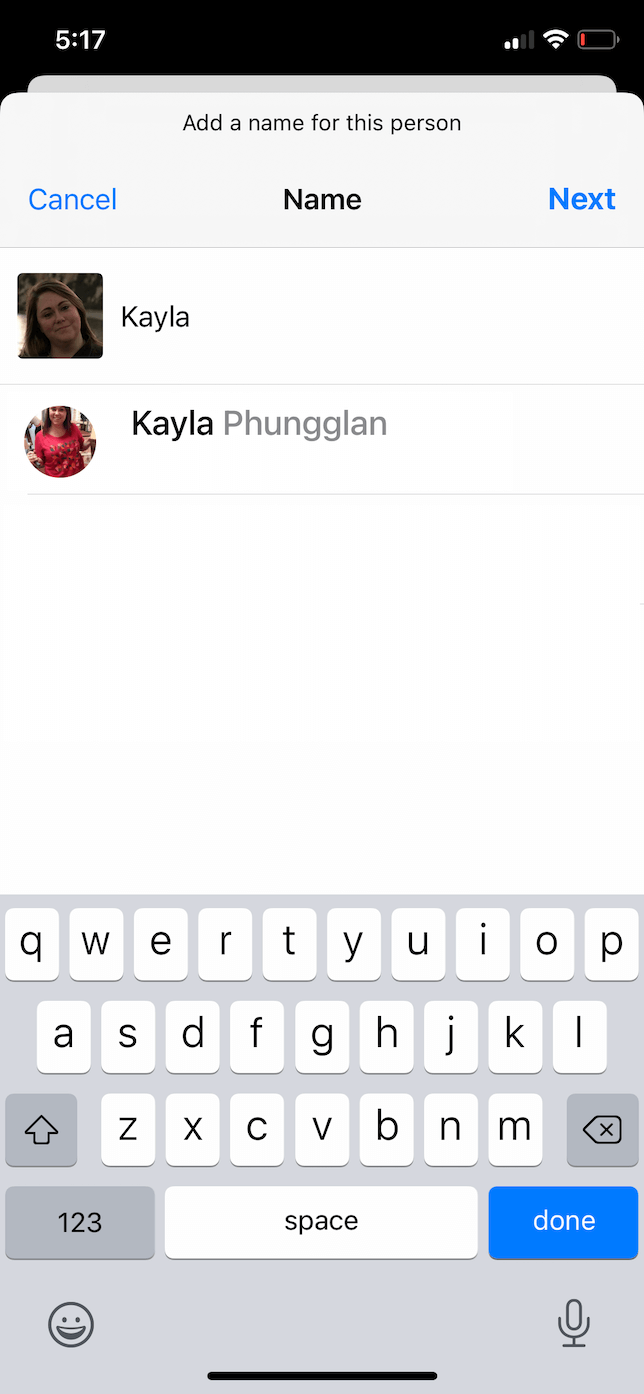
- At the meridian, tap Add Name.
- Type the person's name and tap Next.
- Photos will show y'all other images with that person in them. Select all that are authentic and tap Done.
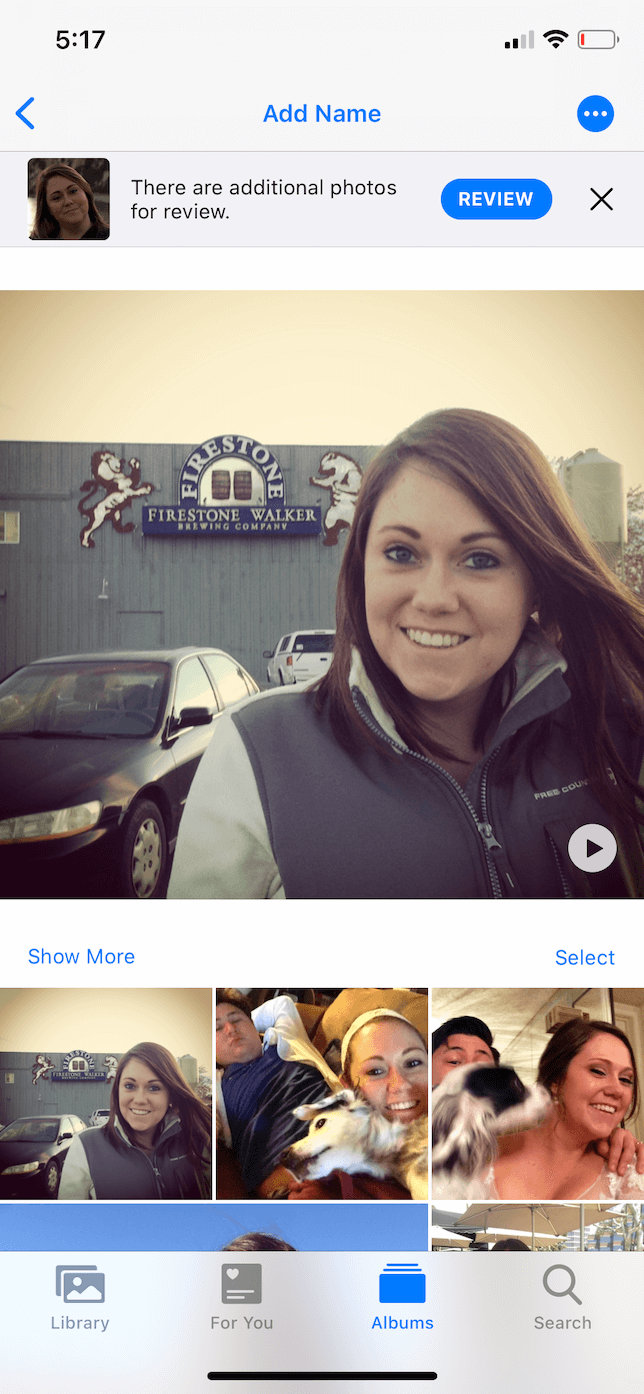
The more photos you review and tag that person in, the ameliorate the Photos app will be at tagging them in the future.
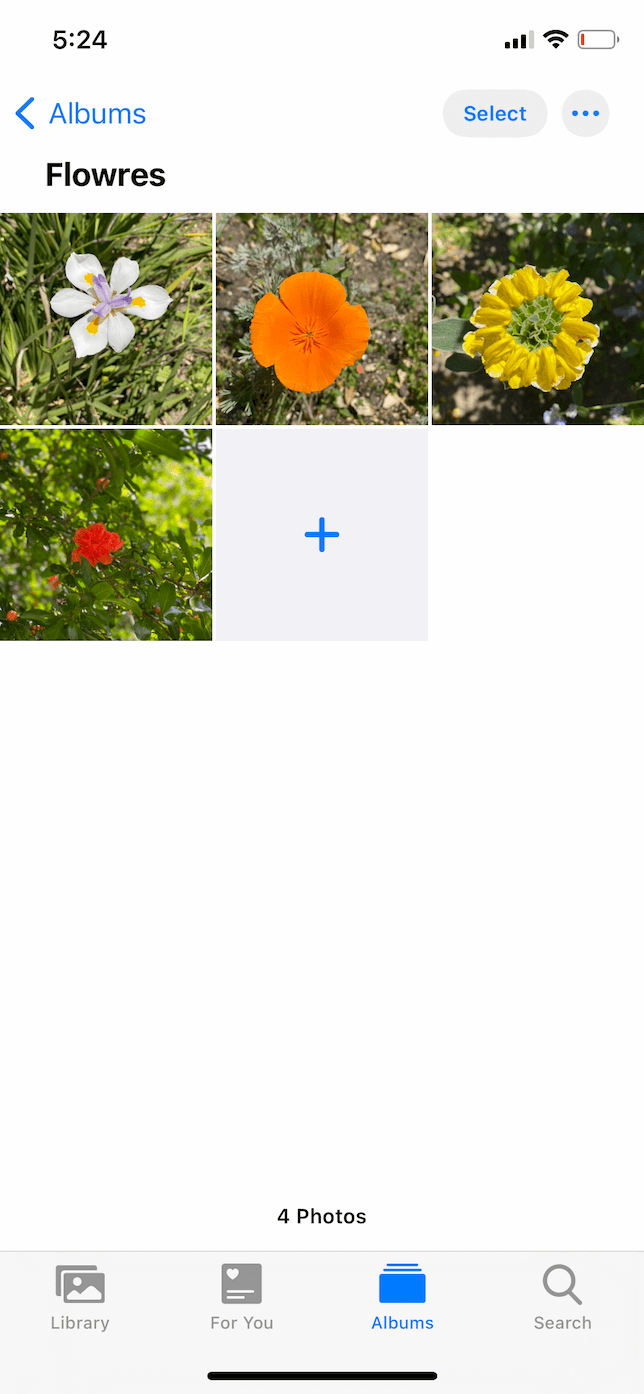
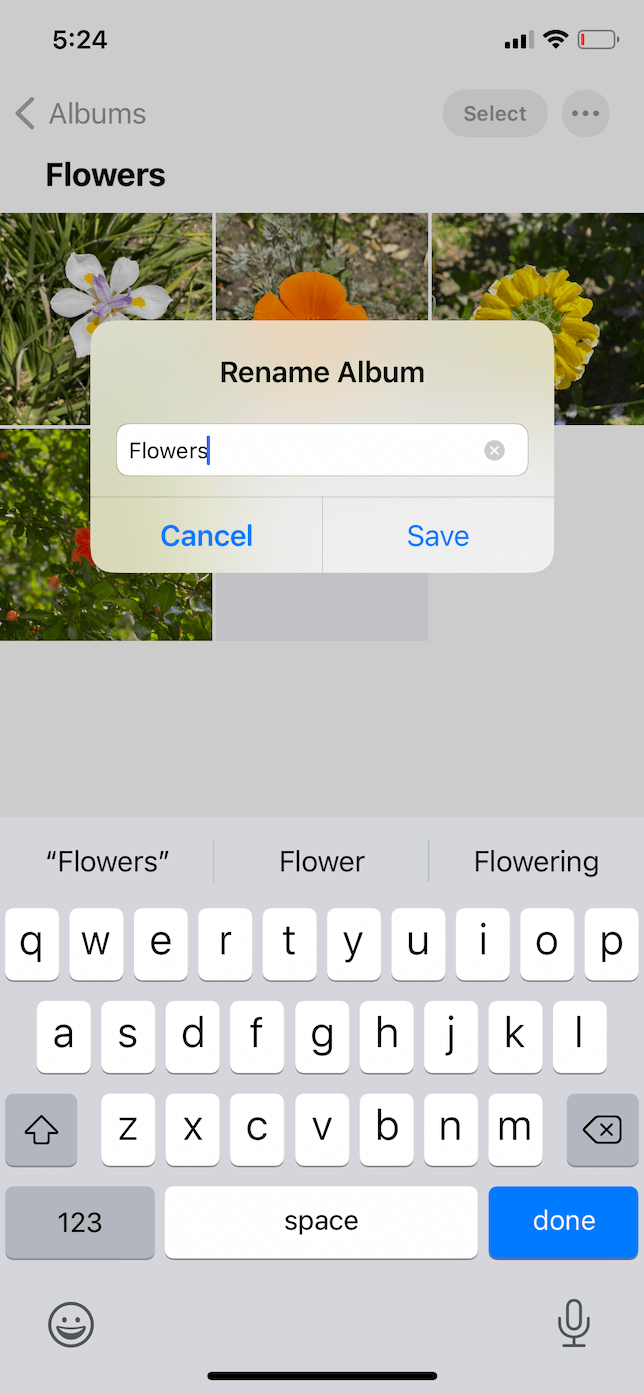
How to rename a photo album on iPhone
Perhaps you've created an album, simply now the name doesn't make sense anymore. Or perhaps you only realized there's a typo in your album name. Don't worry. You can ever rename your albums by following these steps:
- In the Photos app, tap the Albums tab.
- Tap to open the anthology you desire to rename.
- Tap the ellipses icon and select Rename Album.
- Blazon in your new Album proper name and hit Relieve.
The Photos app for iOS is a great tool for managing pictures and can be incredibly useful when your library is organized. With features similar the Search tool and facial recognition, there's no reason you shouldn't be able to discover the specific picture you're looking for in a matter of seconds. Hopefully, this commodity has eased some of the feet that might accept kept you from diving in to clean upward and organize your photo library.
Source: https://backlightblog.com/organize-photos-iphone-photo-albums
Posted by: bixleryonstopir.blogspot.com
0 Response to "How To Organize Camera Roll"
Post a Comment